There are a lot of steps here folks. My steps will be different from others due to the way I have decided to construct the case. The overall process is driven by my desire to build the case outside the boat on my work bench as Dave did in building Scamp 243. This may not be the best way, but it makes sense to me.
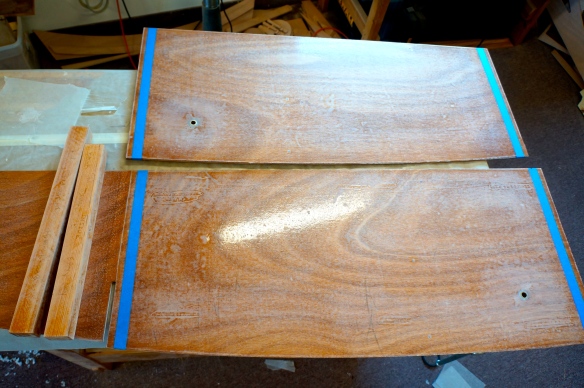
 First I needed to fiberglass the inside surface of the CB case. I like to keep my first coat of epoxy thin as not to add undue weight. I also believe this creates a better bond between the wood and glass (it seems to suck the glass into the fibers of the wood).
  I used tape to separate the glassed portion of the case from the remainder of the seat longitude piece. You glass right over the top edge of the tape, and then use a razor blade to cut a clean line, using the edge of the tape as a guide. This provides a clean edge between the glass and wood and works beautifully.
  I then epoxied the support plates to the case sides. I am using the stones as weight to hold the two pieces together.
  Drilling out the epoxy plug to recieve the brass bushings. I had to be extra careful to get the two panels properly positioned to each other prior to drilling. I used two extension supports to keep everything horizontal. On the drill press, I drilled one hole through all the layers.
  Test fitting the bushings prior to installation. I marked and then cut the bushings to proper length. You can see the epoxy plug that surrounds the bushing to prevent water intrusion.
  To ensure the bushings hold securely in the epoxy, I scored the outside with a metal file and then epoxied the bushings into place using thickened epoxy.
  Just looking over all the margins to make sure the CB will fit.
  Mocking up the whole ensemble. The width looks just right. I have 3/16″ on each side of the CB. No, I didn’t forget to add my homemade poly washers.
 The pivot bolt will be used as an alignment tool during glue-up to keep the panels in proper orientation to each other.
  I need to add a few more coats of epoxy to the inside surfaces prior to assembly. I used tape to separate the graphite epoxy areas from the case end pieces.
  The graphite sure makes things look official.
Summary:
There a lot of little steps here that seem to take forever, especially when working with epoxy. My goal is to take my time and not make any mistakes. So far, so good. I am just enjoying the journey. Next step is to assemble the case.

Looking really nice, Brent!