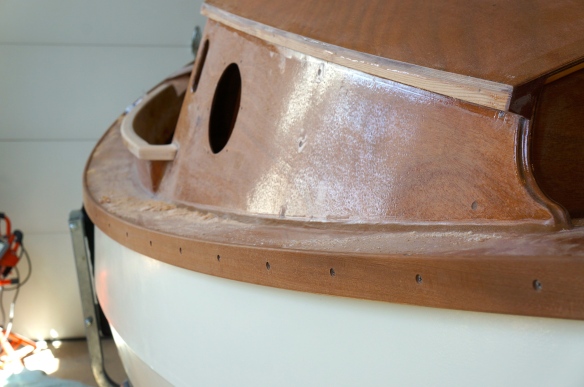
With epoxy cured, I began shaping the coaming cap. I cut it close, then filed until flush.
  A block plane brought the oak down to the top of the plywood.
  I then filed the top to remove plane marks and gouges.
 All edges were rounded with a 1/4″ round over bit and then filed for final shape.
  I then screwed on my rub rail. I choose Sapelle dimensioned to 3/8″ x 1 7/8″. I decided to only screw this in place for easy repair or replacement. I used 1 1/4″ SS screws placed 6″ apart. I held the rub rail 1/8″ proud of the deck for my desired look.
  I wasn’t sure it was going to bend OK, but it went on just fine. This is a really fun stage to be at here folks…really fun stage.
Summary:
Things are starting to come together for Shackleton. I’ll be away for a while, so expect delays in my blog posts and progress. I’m very glad I began this project. For me, it has been a great experience. Should you build one? That’s entirely up to you…but for me, it’s been an awesome experience.

Looks good, Brent! You’ve really been making progress and putting out the blog posts lately! I have to get back in the habit of posting – thanks – Dave
Dave,
I’ve been hitting your blog to check out your progress, but you have been very quiet lately. You are probably about finished by now. Love to learn how you have done your rigging and stowage for the boom, yard and mast. Please post so I can check it out.
Brent