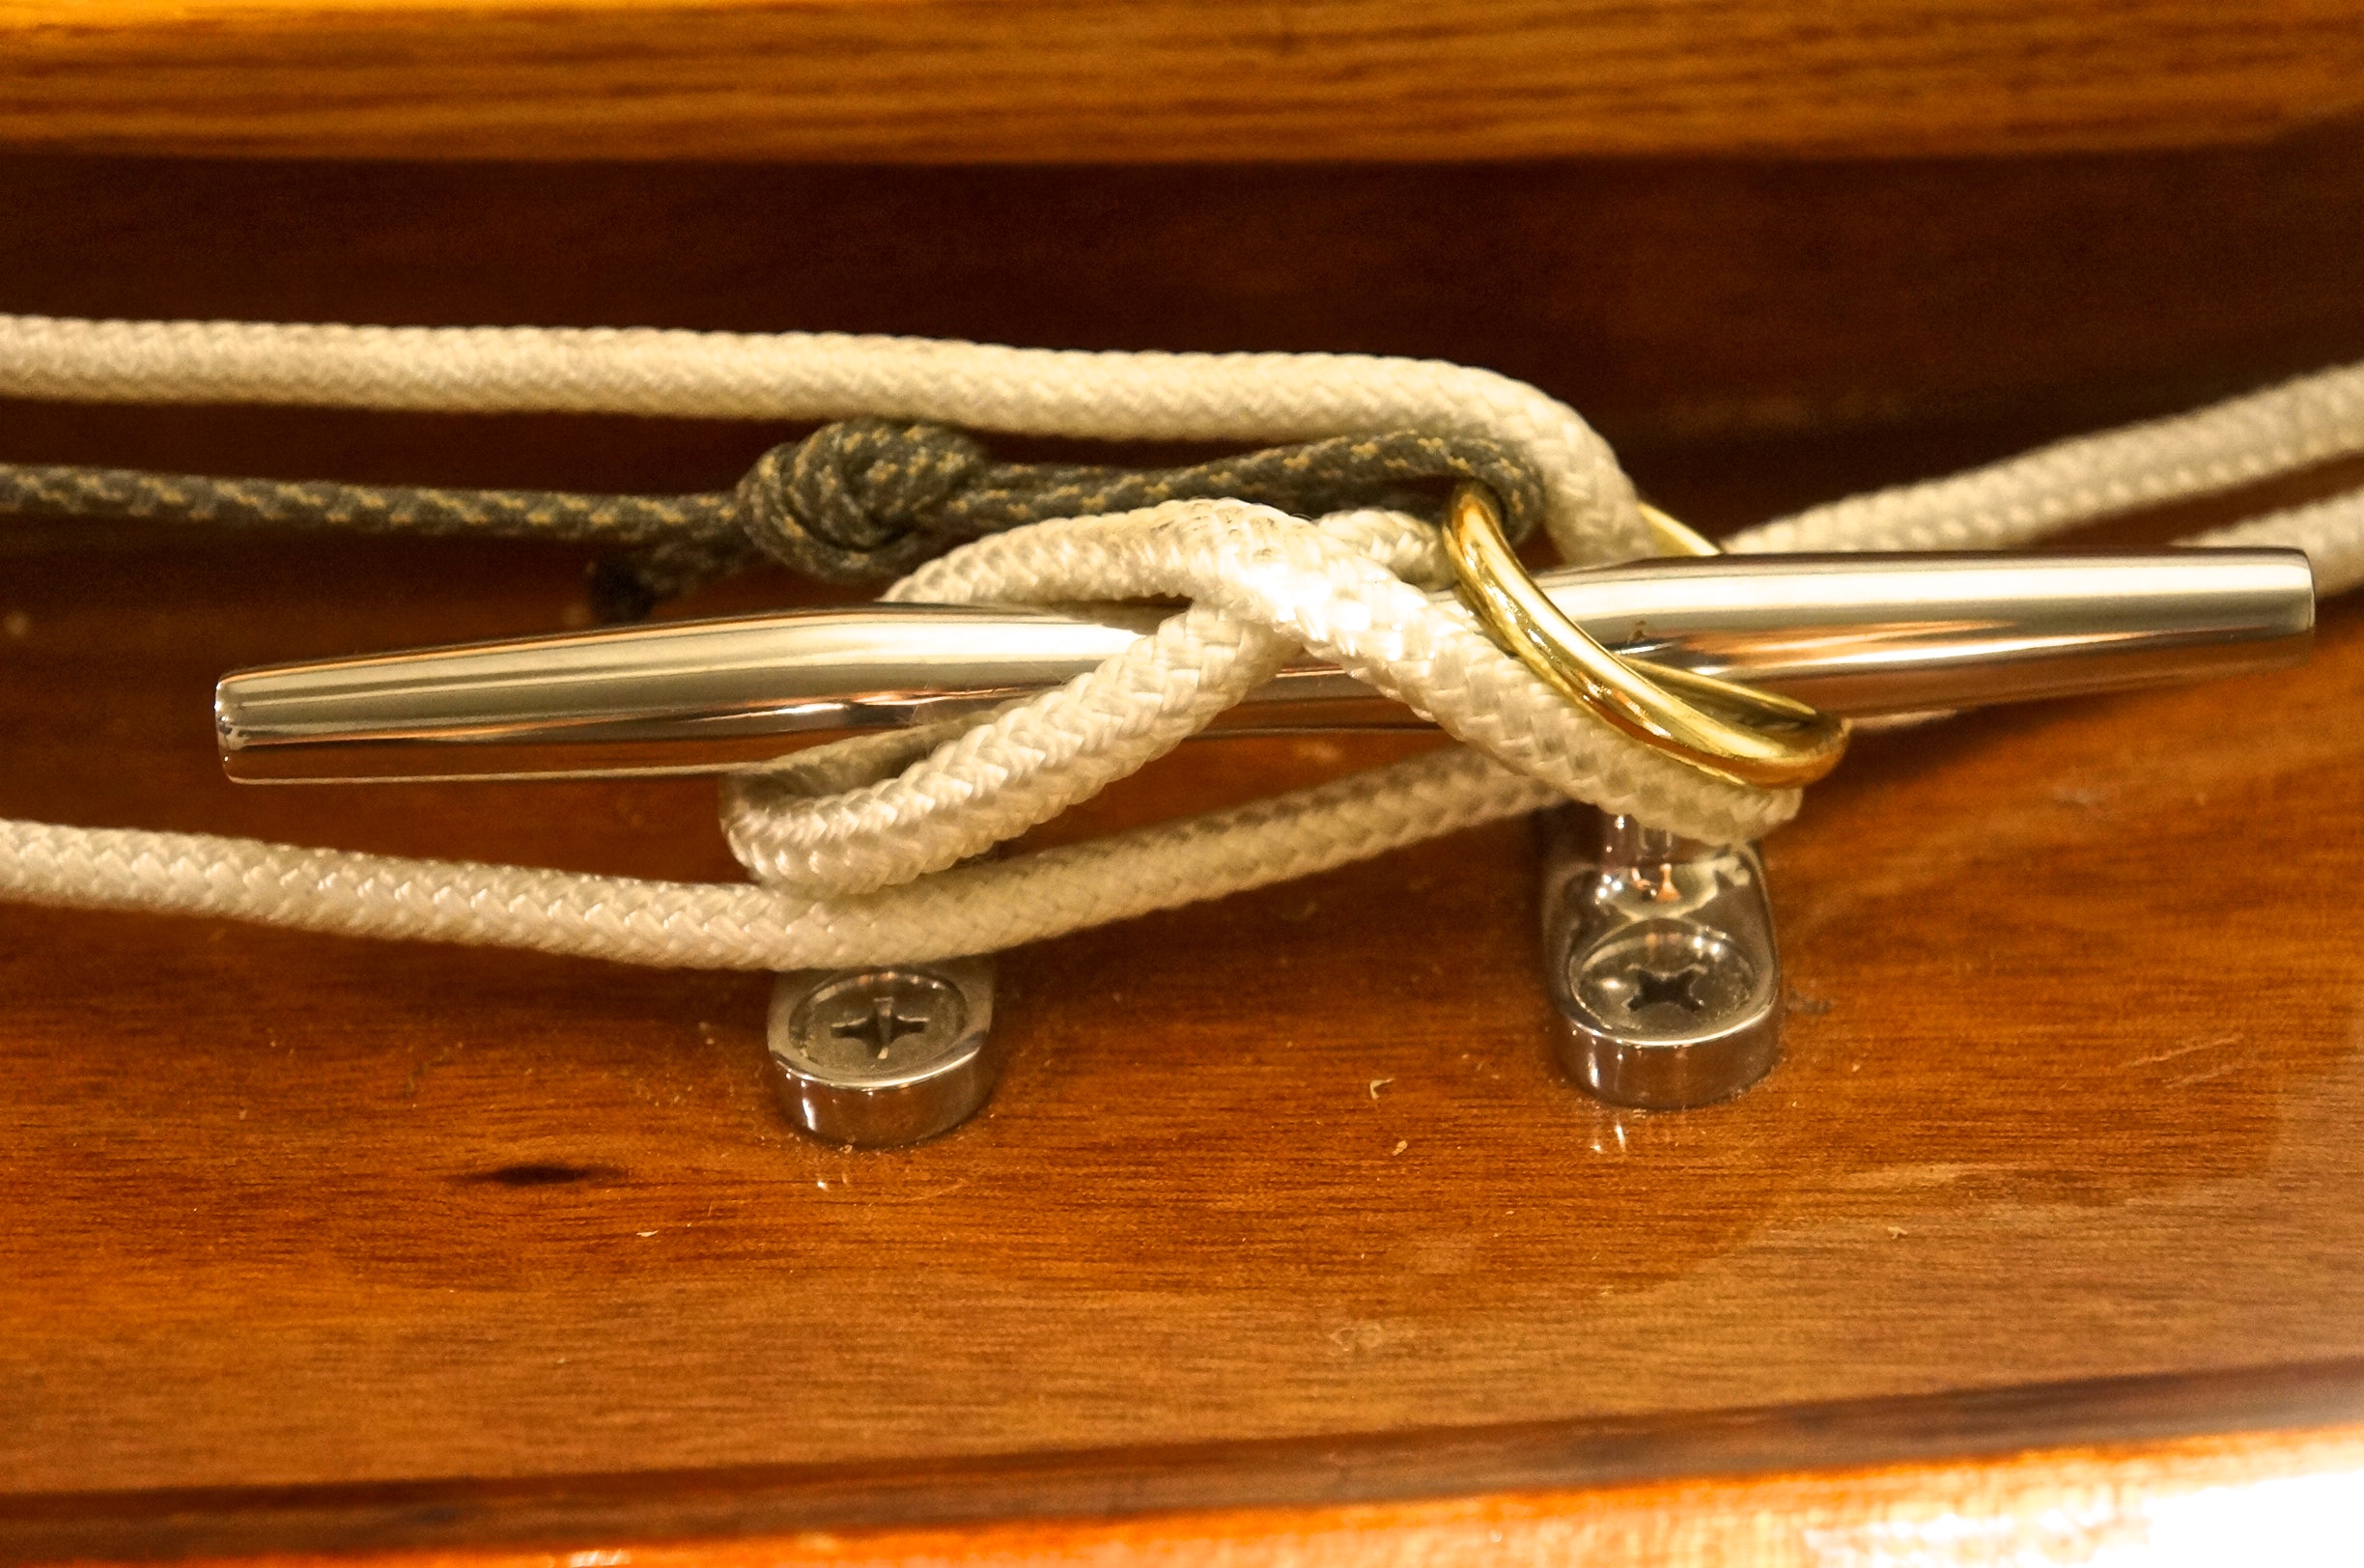
Today, I was able to finish up the anchor system and stern bench seat. The stern seat will make it easier to deploy the anchor and work the outboard. It also provides a nice place to lounge while cruising with the outboard. I through-bolted the seat to cleats placed underneath for a secure attachment.  The bungie cord ties below with a figure 8 knot. This provides a simple yet effective way to secure my anchor. It also allows for very quick deployment of the anchor.
 The Fortress Commando anchor chain was a bit small and a bit short. My theory is that you need a good heavy chain, especially with a lightweight anchor. I replaced the 6 feet of 3/16″ chain with 12 feet of 1/4″ chain.
 The 1/4″ chain fit nicely with the existing shackle that came in the kit. I used Pro Lok on the threads before tightening.
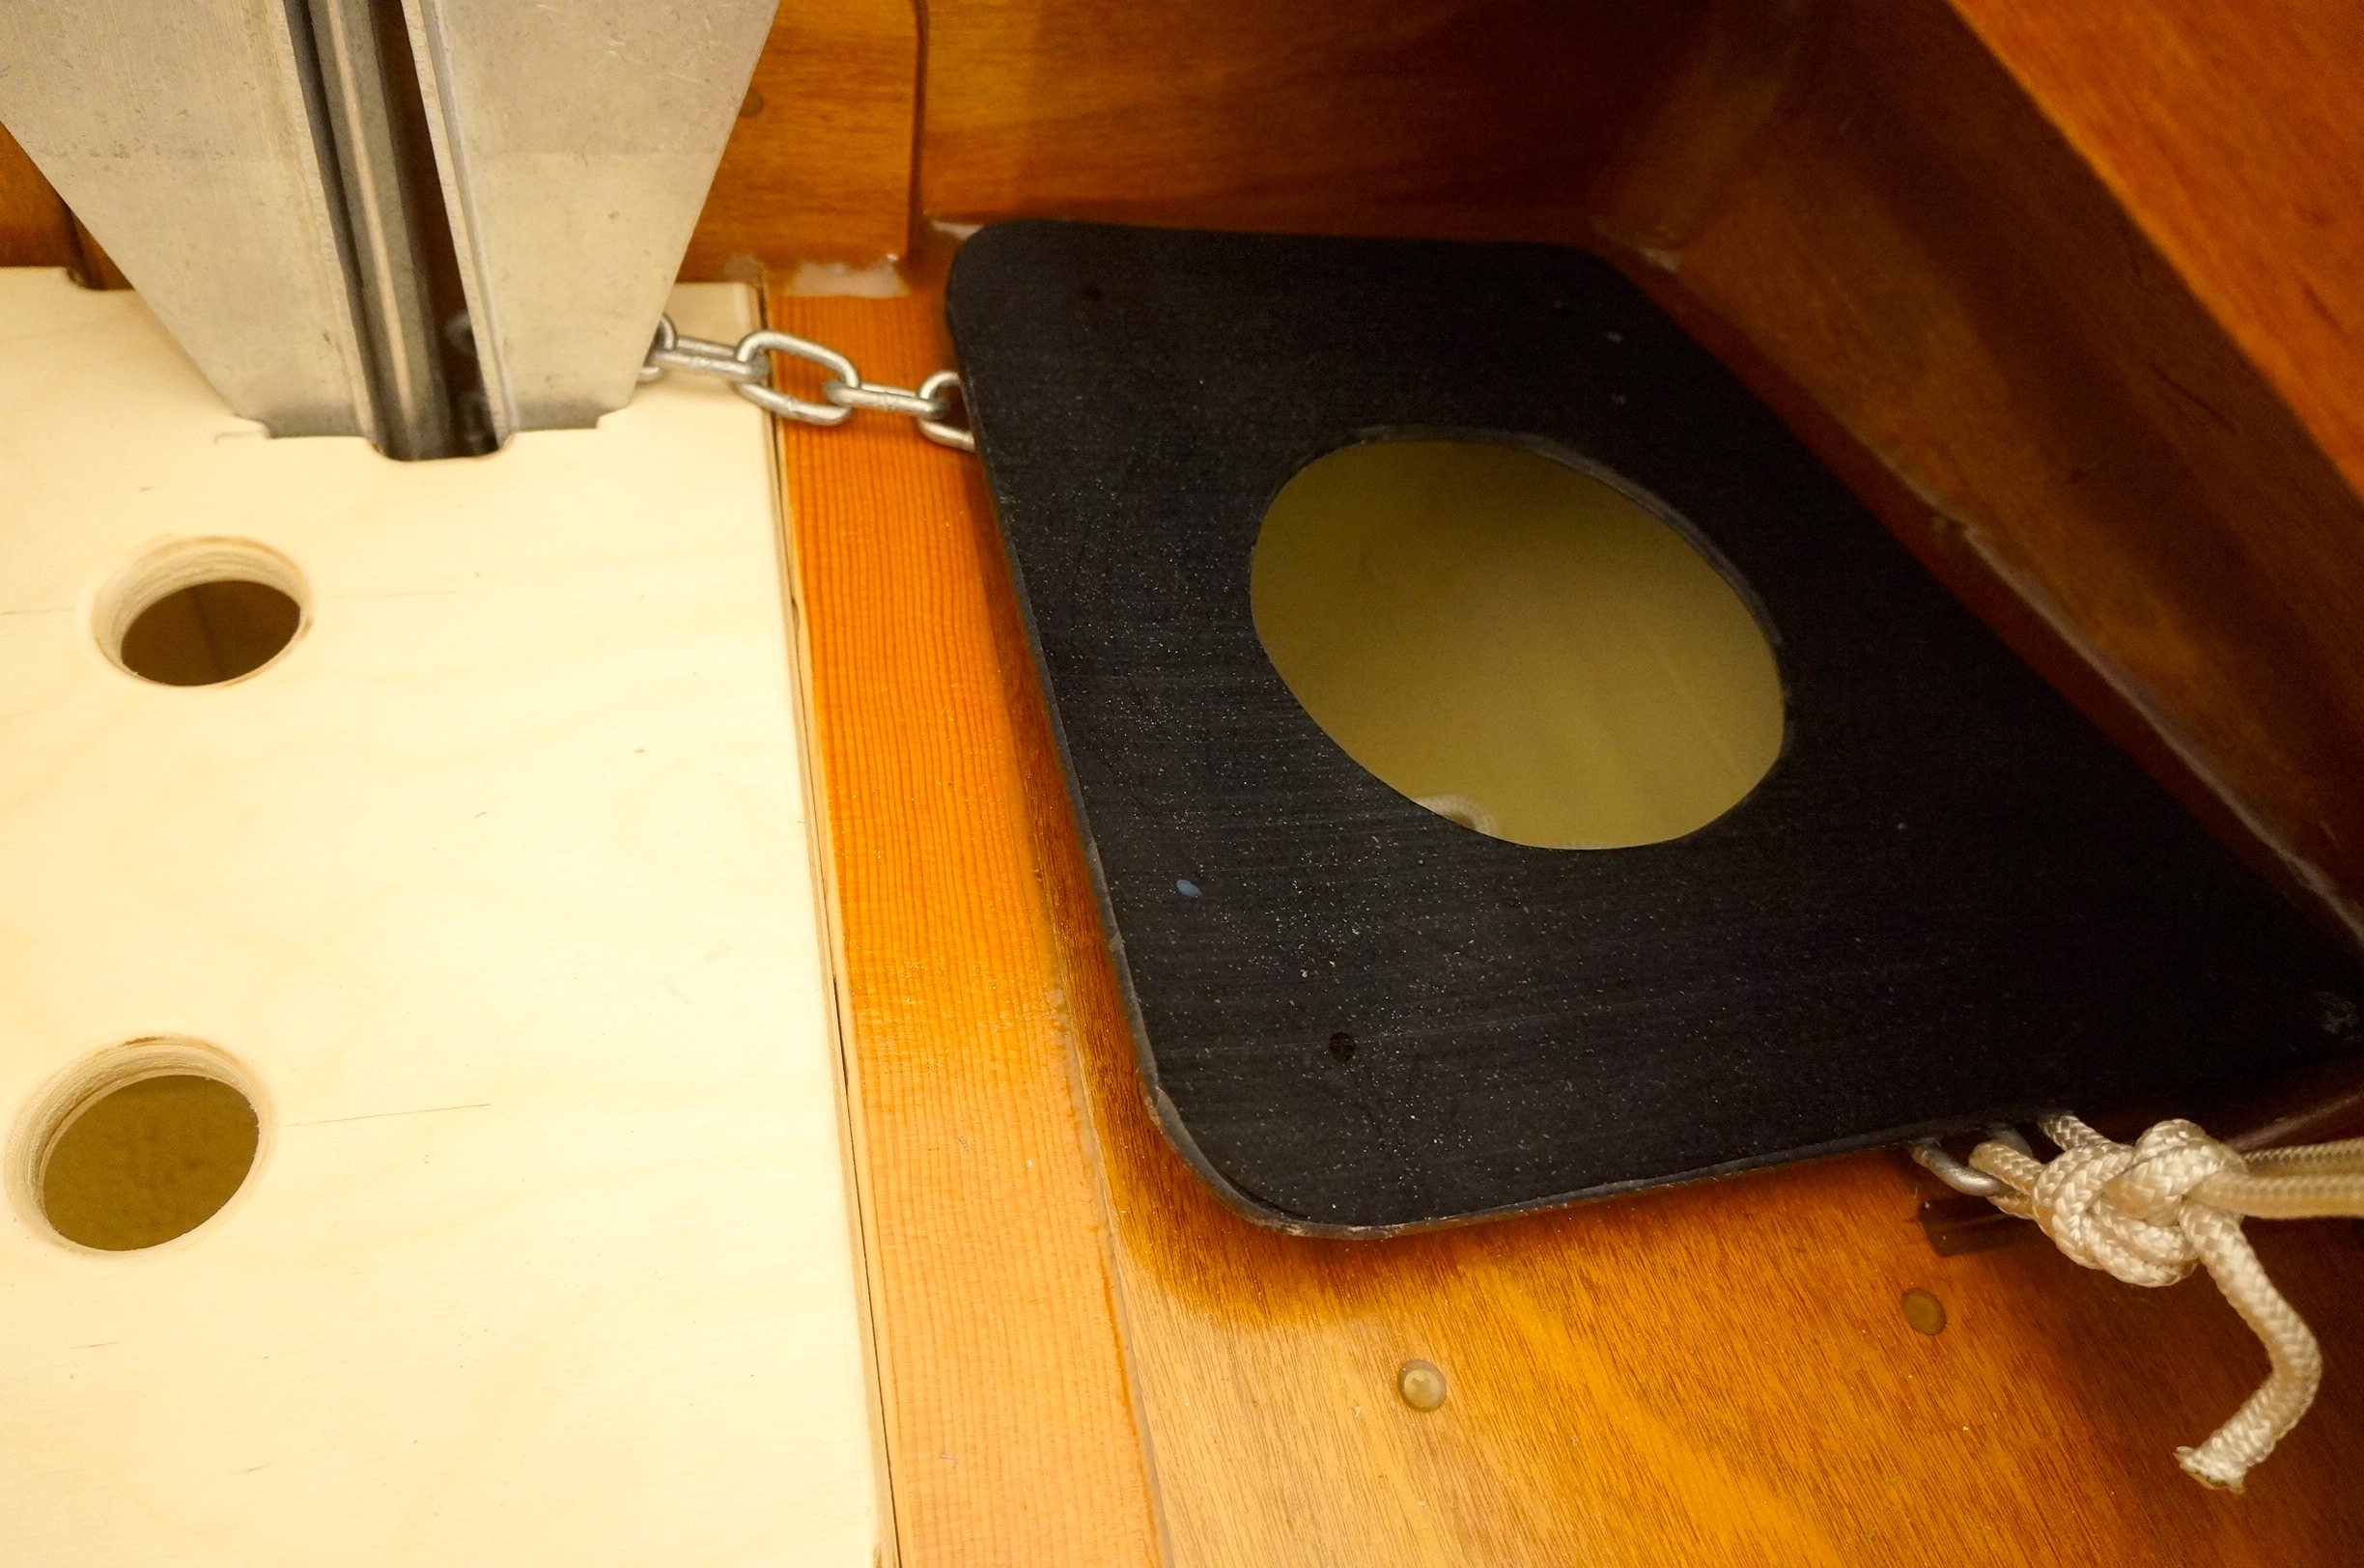
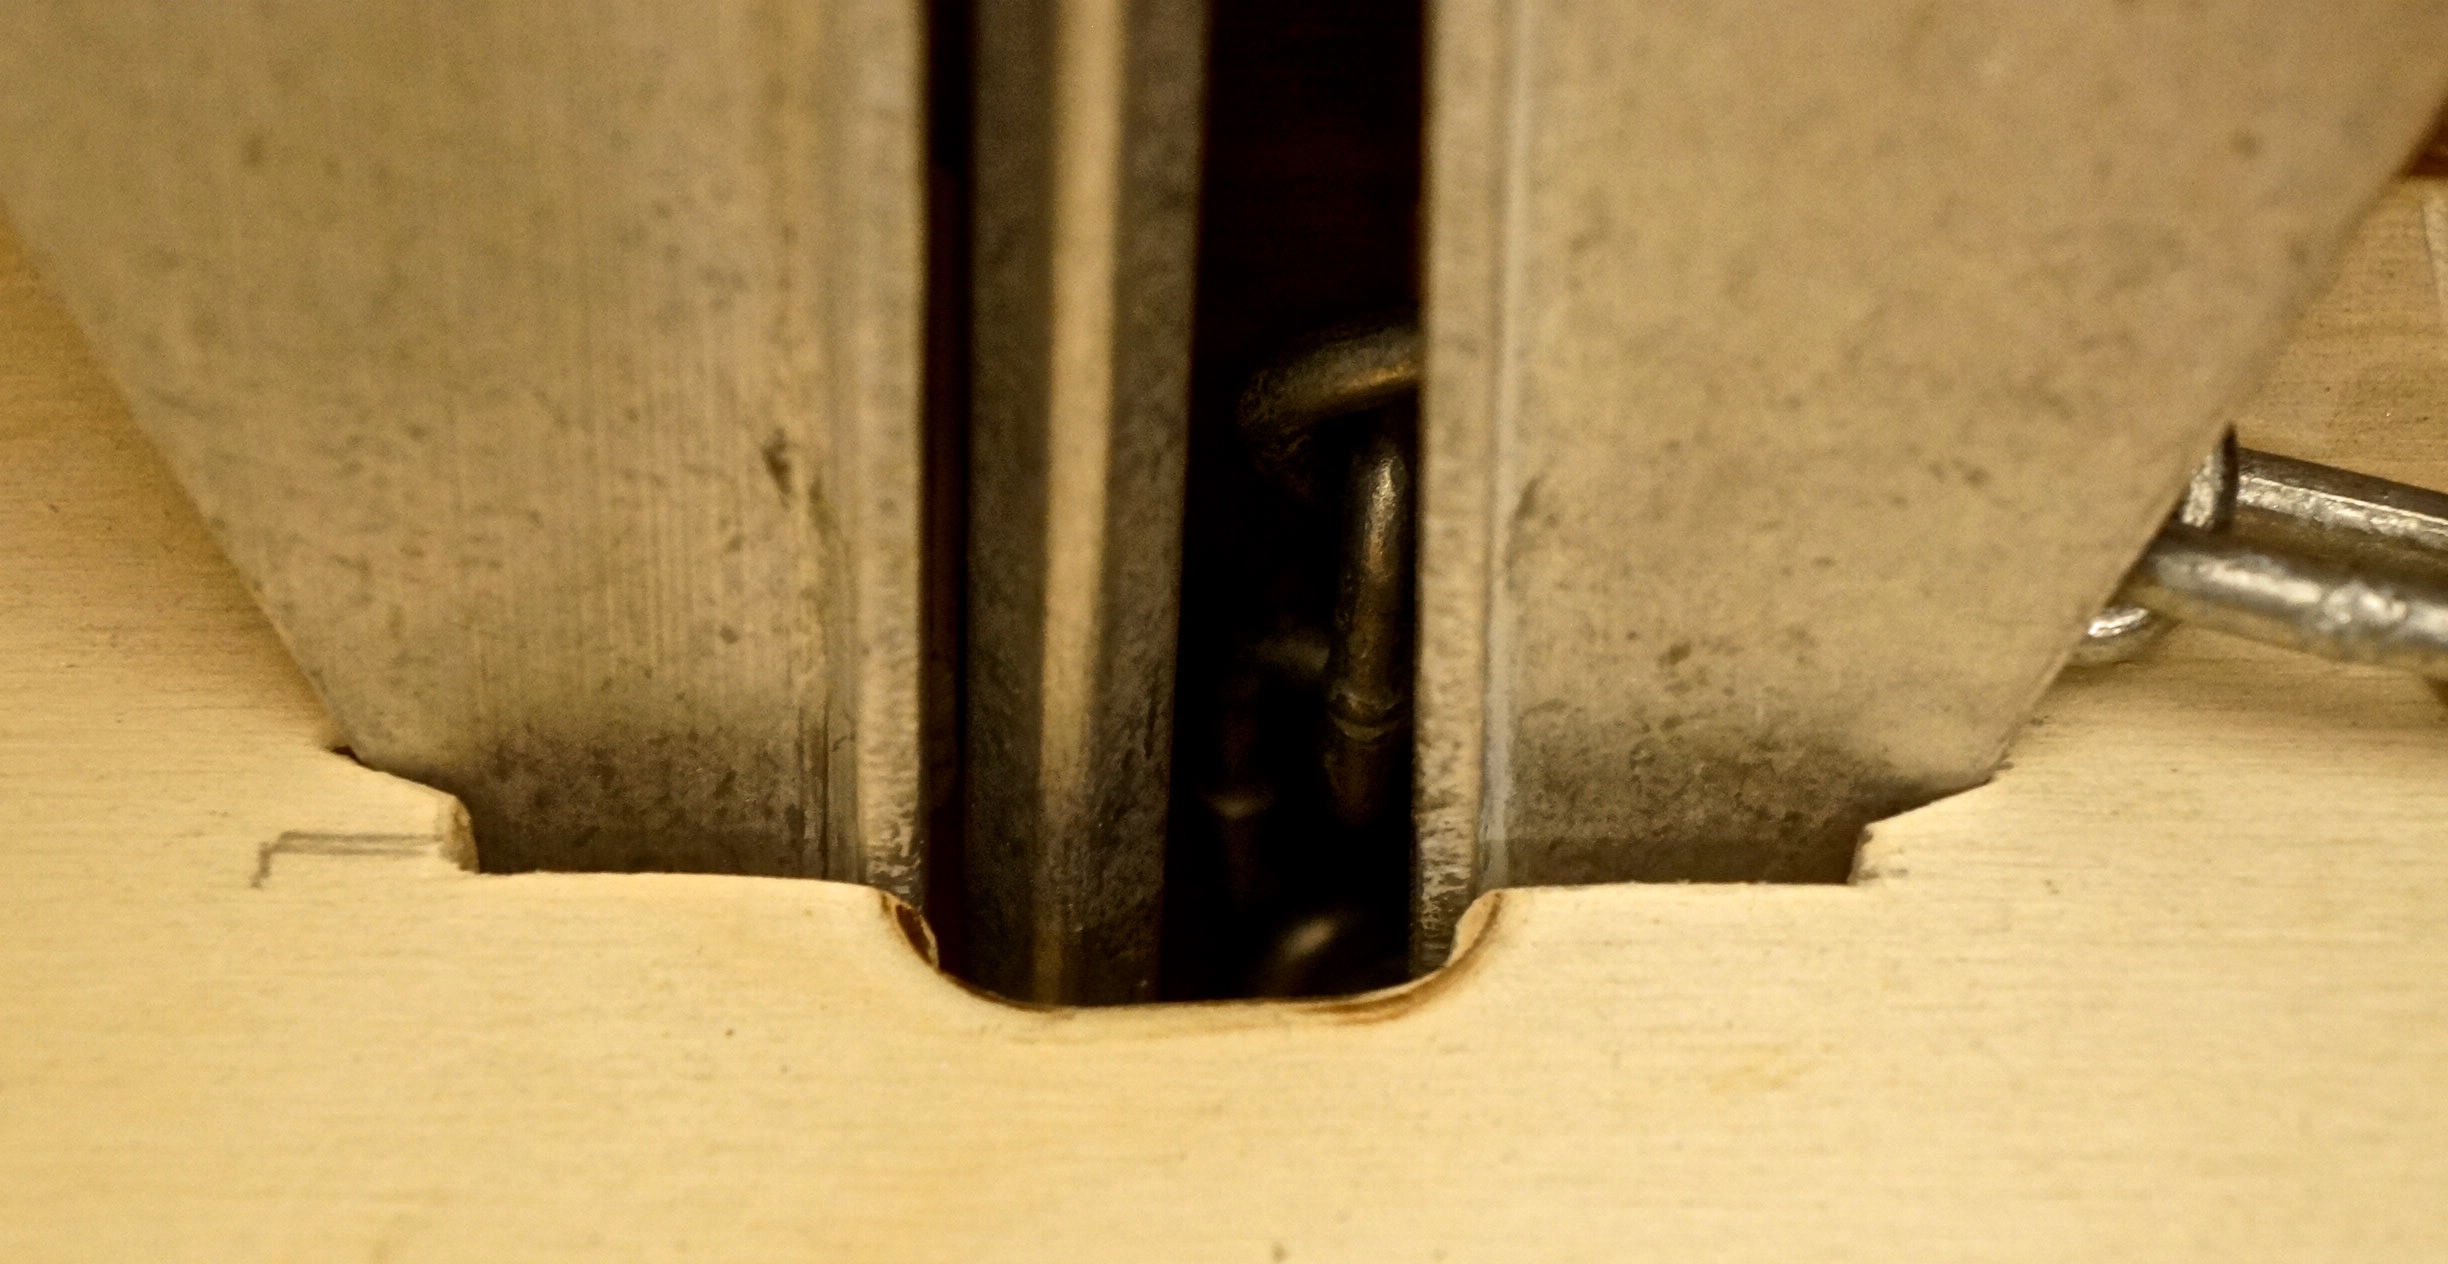
 This shot is from beneath the stern seat. You can see the anchor arm extending toward the sole. It fits nicely just inside the scupper. Also, notice the anchor line coming through the seat longitudinal, then running back inside the anchor line storage area. I secured it with a figure 8 knot just inside the anchor line storage area.
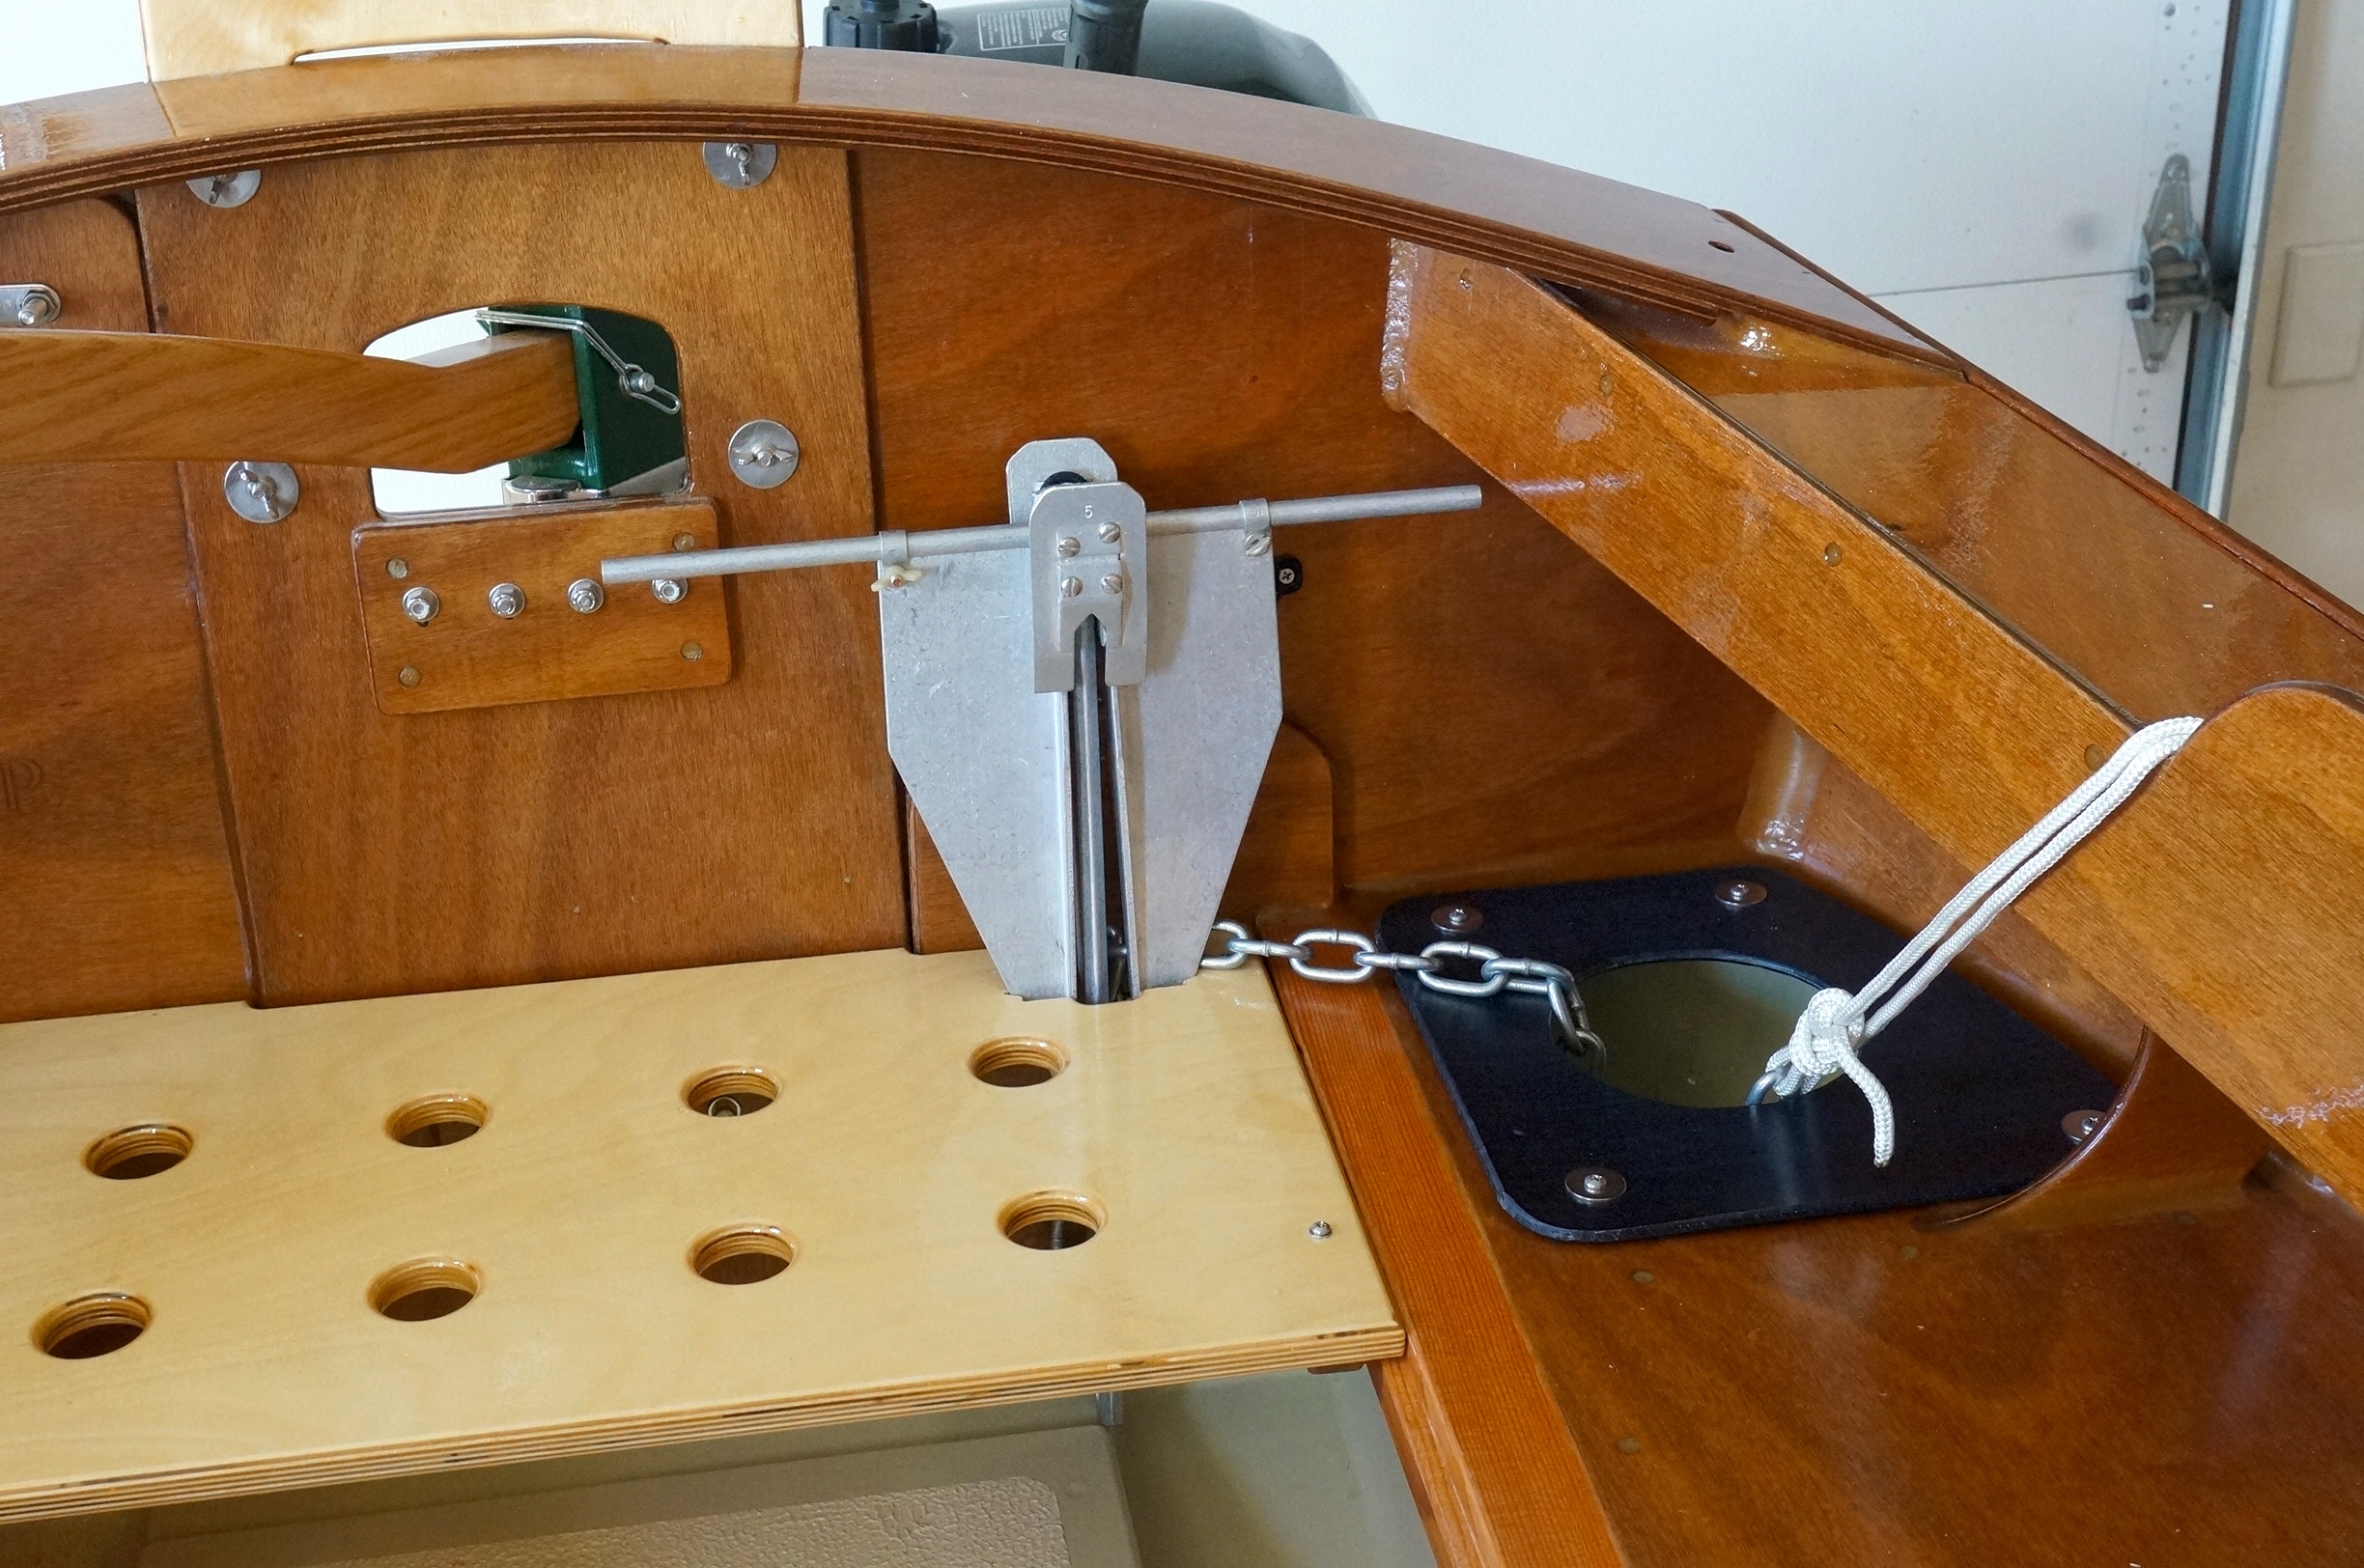 Anchor, chain and line all secured in its proper place.
I’m anxious to get out and try this setup. I have absolutely no experience anchoring a boat, so this should be educational.